01
QUARTER METHOD
Best if you want me to size your nails from photos.
WHAT YOU NEED
A quarter + your phone camera.
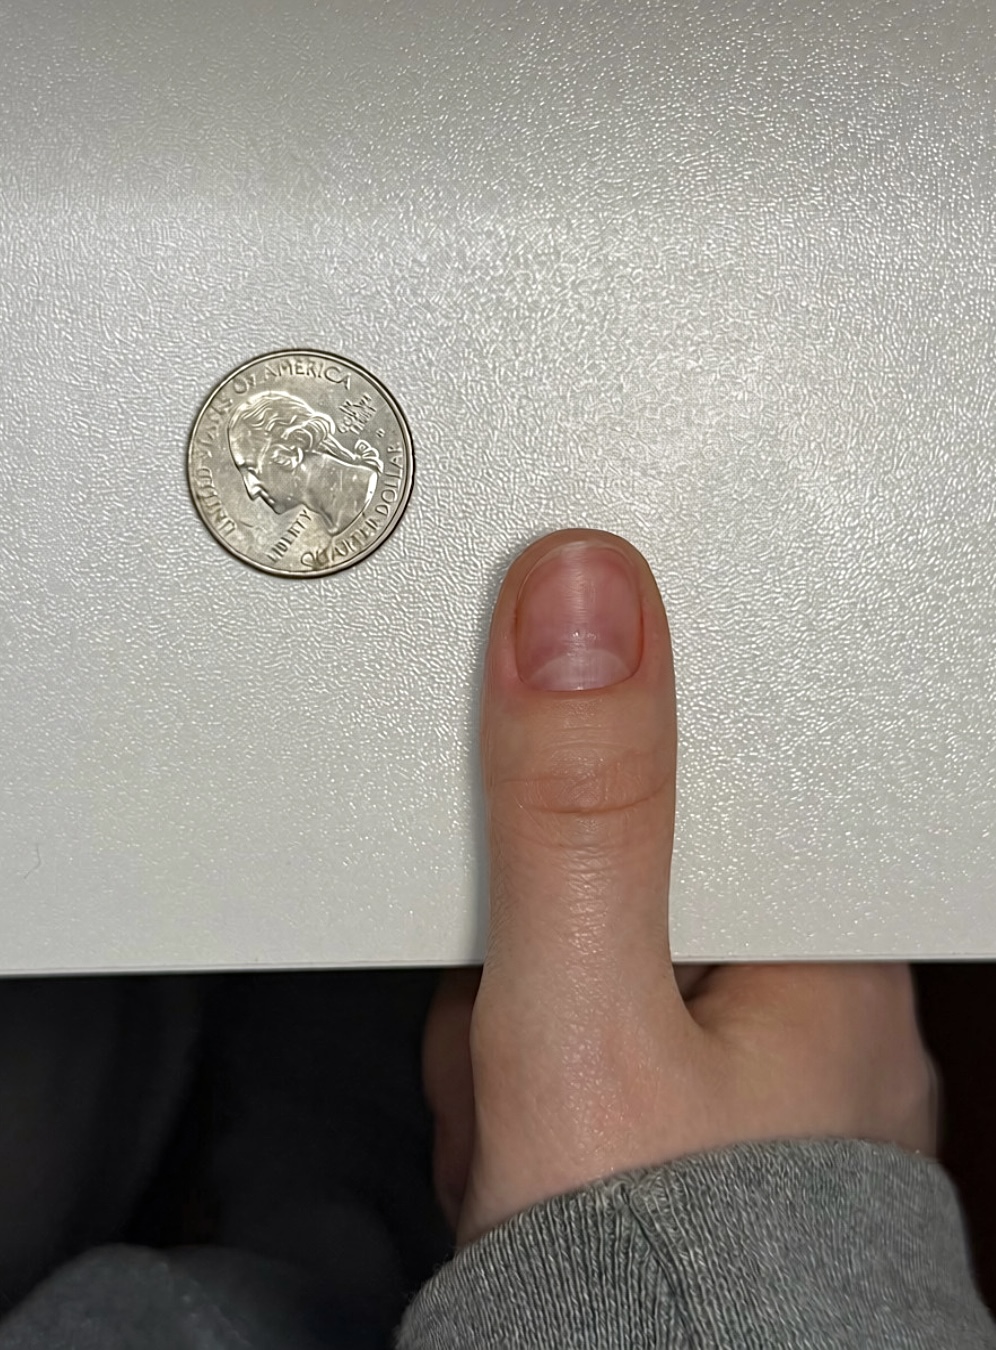
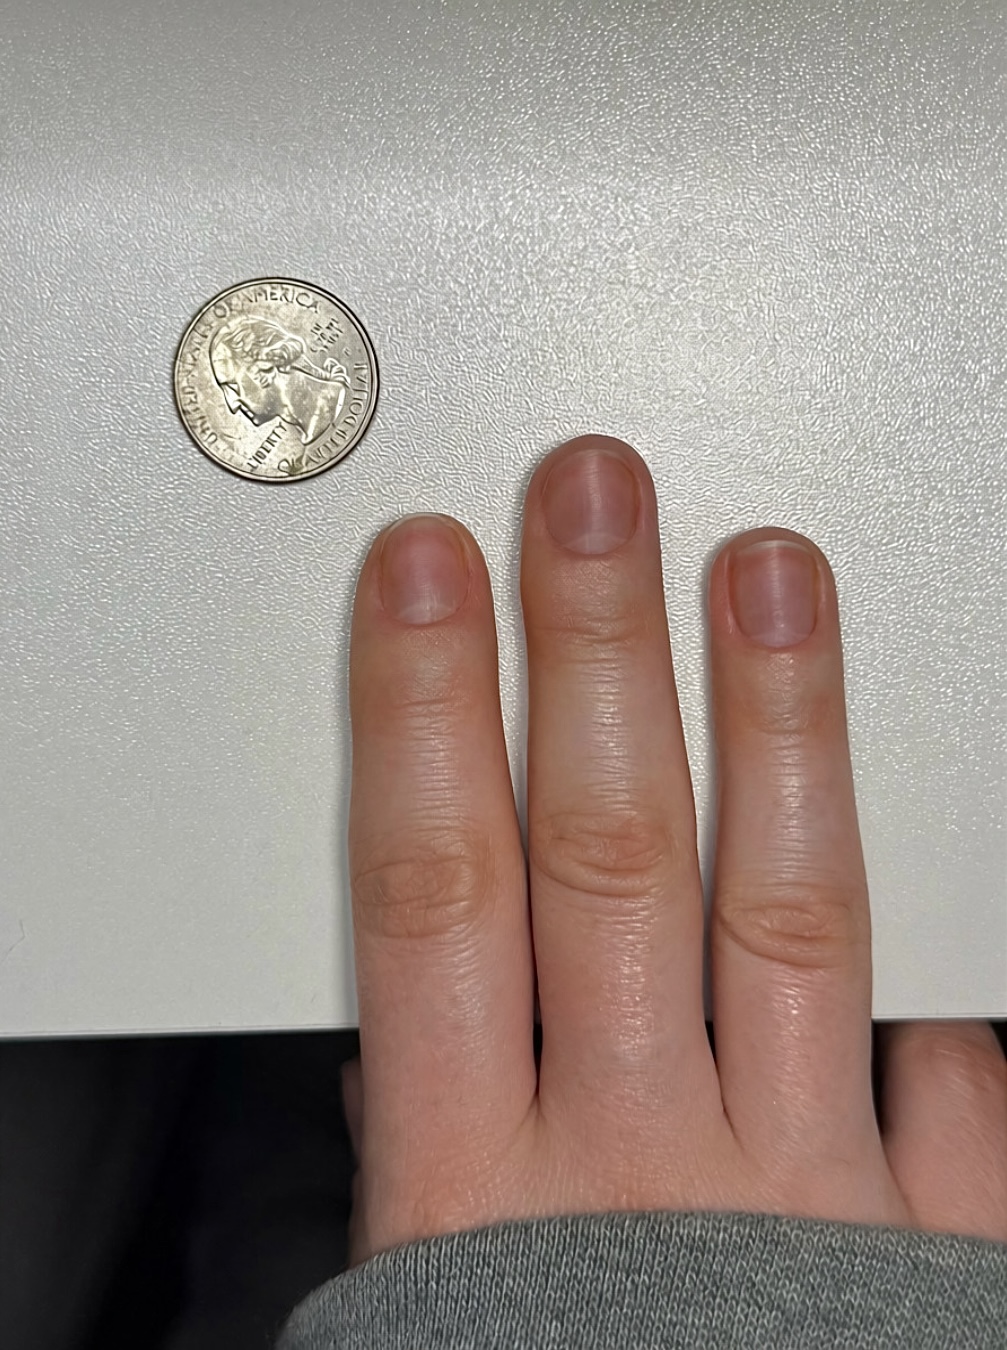
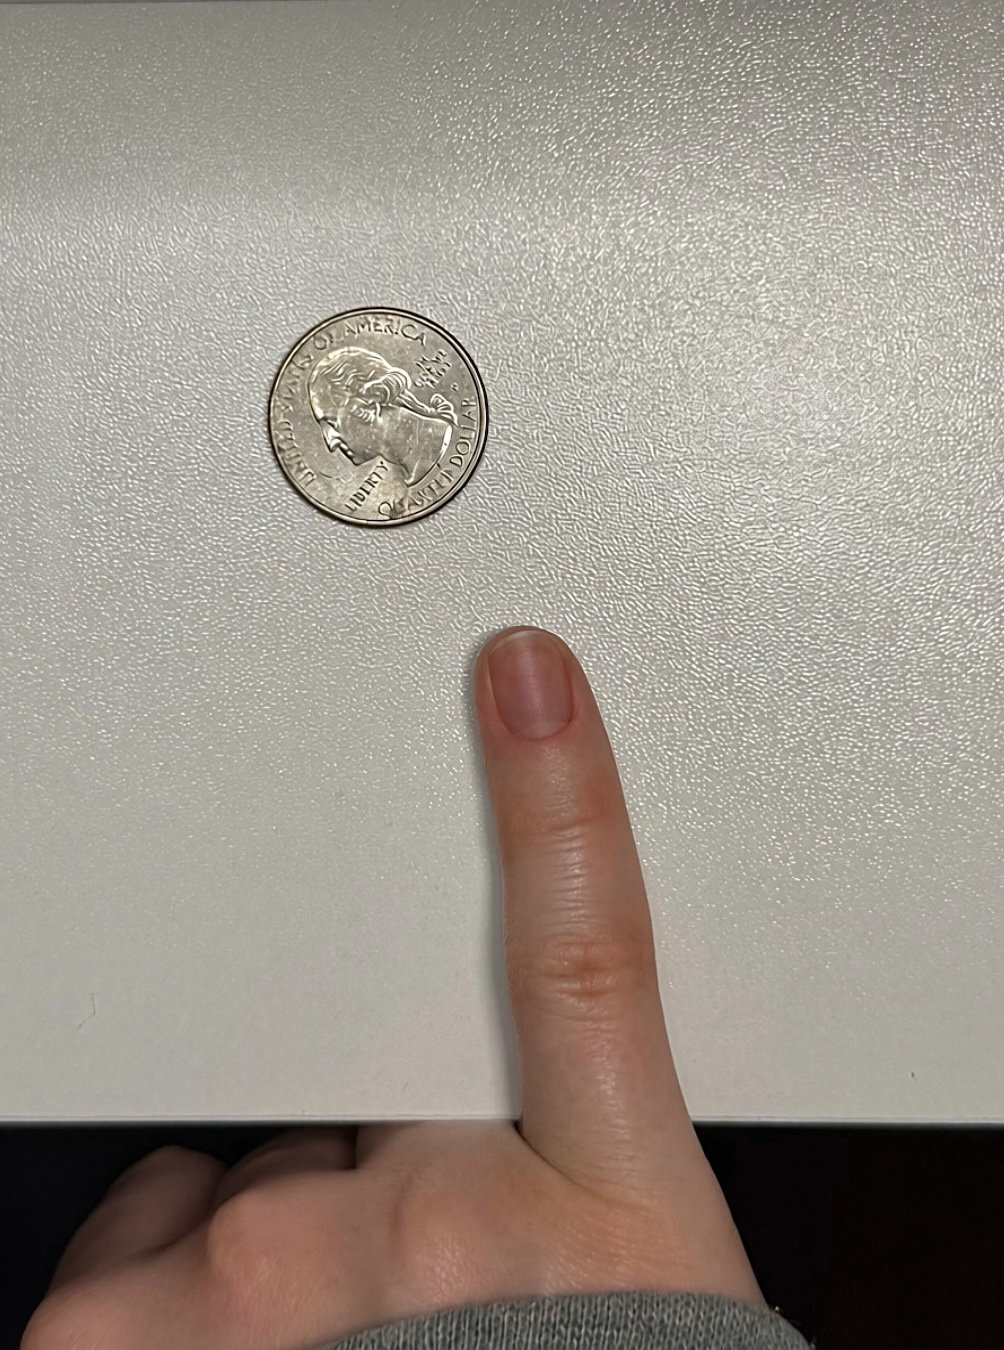
You'll take 6 photos total — 3 of your LEFT hand and 3 of your RIGHT hand. The quarter needs to be clearly visible in every photo so I can use it for scale.
⬅ LEFT HAND — 3 PHOTOS
- LEFT pinky + quarter
- LEFT index, middle & ring + quarter
- LEFT thumb + quarter
RIGHT HAND — 3 PHOTOS ➡
- RIGHT pinky + quarter
- RIGHT index, middle & ring + quarter
- RIGHT thumb + quarter
PHOTO TIPS
- Take the photo with your camera directly above your nails.
- Use good, clear lighting.
- Make sure the entire quarter is visible.
- Don't take the photo at an angle.
- Send bare natural nails with no polish or press-ons.
- Double-check that LEFT and RIGHT are kept separate.
02
TAPE + MILLIMETERS
Best if you want to measure each nail yourself.
WHAT YOU NEED
Tape, a pen, and a ruler with millimeters.
HOW TO MEASURE
- Place tape across the widest part of your nail. Lay the tape straight across the top of your finger—do not press or fold the tape down around the curve of your nail.
- Mark where each side of your nail meets the tape.
- Remove the tape.
- Lay it flat against a ruler.
- Measure the distance between the marks in millimeters (mm).
- Repeat for all 10 nails.
⬅ LEFT HAND
LEFT Thumb _____ mm
LEFT Index _____ mm
LEFT Middle _____ mm
LEFT Ring _____ mm
LEFT Pinky _____ mm
RIGHT HAND ➡
RIGHT Thumb _____ mm
RIGHT Index _____ mm
RIGHT Middle _____ mm
RIGHT Ring _____ mm
RIGHT Pinky _____ mm
YOU'LL STILL SEND 6 NAIL PHOTOS
No quarter needed for these photos — I just need to see your natural nails.
Take them in the same 3-photo layout for each hand:
⬅ LEFT HAND — 3 PHOTOS
- LEFT pinky
- LEFT index, middle & ring
- LEFT thumb
RIGHT HAND — 3 PHOTOS ➡
- RIGHT pinky
- RIGHT index, middle & ring
- RIGHT thumb
DOUBLE-CHECK YOUR LEFT + RIGHT
Make sure your measurements and photos are labeled or uploaded under the correct hand.